Distressing and the tools we use to distress a piece of clothing
The distressing is spot-specific, not an overall process; it’s a whisker in one place, a hole in another, and the perfect tear in just the right spot. This page contains information on how it’s done. Information about sizing and ordering can be found on the distressed jeans and vintage wash hoodies pages.
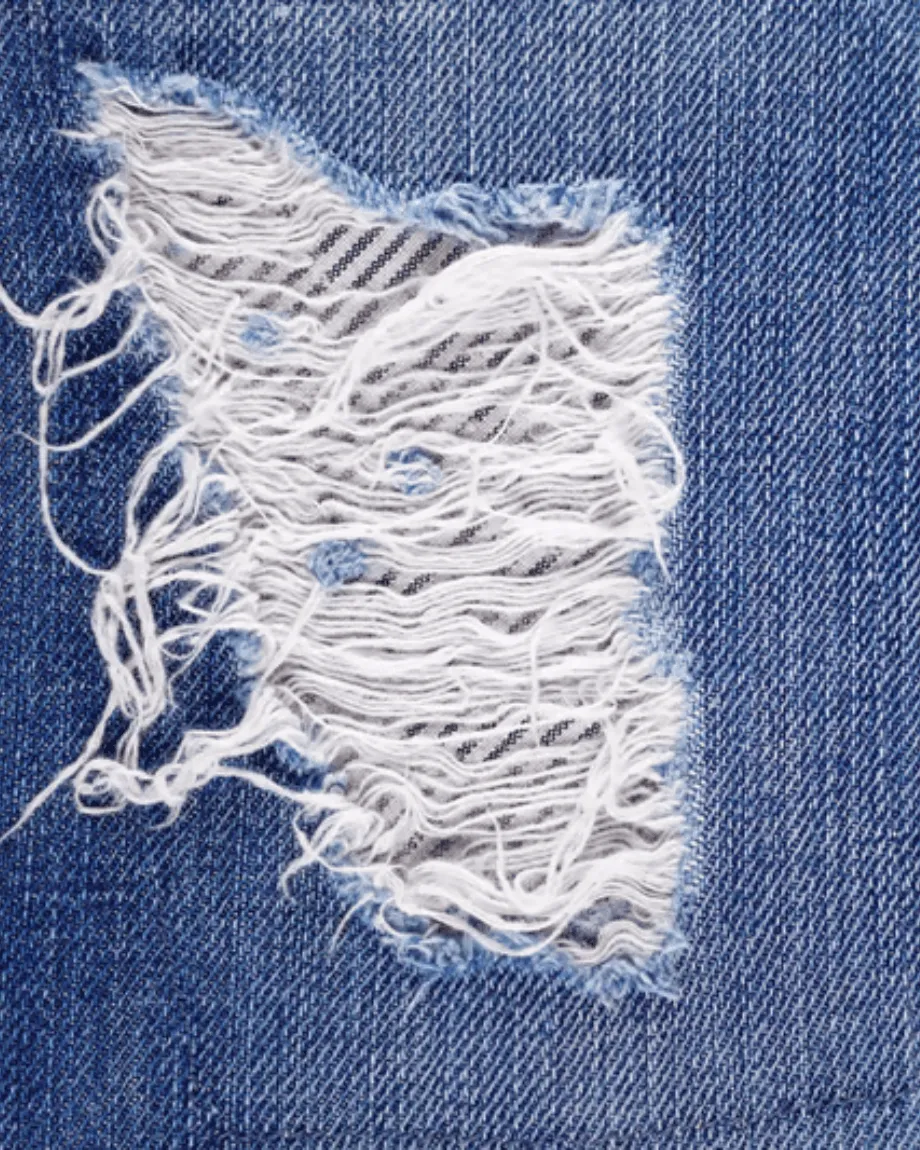
Five techniques, selected according to the requirements of the design
Not one technique — a toolkitThe term “distressing” involves several individual techniques, and all garments employ not less than one. Depending on what kind of result we want to get, we will use either a faded effect or a tear effect, or even both of them in one garment.
Manual sanding process is the underlying technique: the clothing piece is attached to an air dummy – a form made from a mannequin but inflated with compressed air to achieve a solid surface and then the laborer sands certain parts of it using sandpaper of P400-P1000 grit type. The higher grit number means less aggressive sanding; thus, the grit type defines the smoothness of the effect.
Whiskering involves manual sanding and a stencil design that determines the places for fine lines in a radial fashion to be created – the lines are typically placed on the upper part of the thigh and behind the knee.
Laser distressing method eliminates the need for a stencil and sandpaper and uses a laser programmed to remove the indigo dye in the same manner as the designer designs it using computer programs. It takes longer to program but is much faster when duplicating the process — once the pattern is programmed, each piece of cloth produced will be identical and dust-free.
Grinding and fraying the process involves roughening the edges of the cloth using a rotating tool and abrasive file to produce the worn-out look of the clothing. The cut-and-pluck distressing method is the most laborious process — in this process, the vertical yarns of the fabric are plucked manually from the cut surface, where the horizontal yarns remain as bridges on the opened surface of the cut.
Sandblasting by hand or laser: which option matches your order
Different trade-offs, not a strict upgrade pathThere is no clear winner when comparing these two methods, because each of them is used to fulfill a specific type of order, and in many cases we use both techniques on one garment.
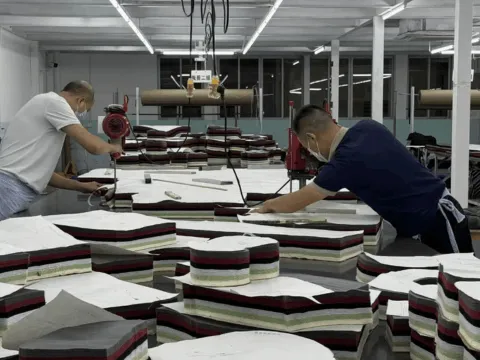
The setup cost is lower in the case of hand-sanding, and therefore it is more appropriate for small-size runs or individual placements. No programming is required until the first unit of garment is processed. The downside of this method lies in consistency at a big scale: even an experienced operator produces slight differences between garments, which is one of the characteristics of artisan-made items. That is why it takes more time to match a pattern at a run of 2000 units.
The process of laser distressing is quite the opposite. The setup takes time – a pattern should be developed in software and programmed to the machine before the production begins – but the output will be the same for all units and will not be dependent on the operator's actions. No abrasive dust will be produced during the process. The disadvantage of this method lies in the fact that setup takes time; for the buyer who requires an exact repetition of the whisker pattern at big size runs, this method may be more effective.
In many of our orders, we use laser processing to achieve the repeating whisker pattern and hand processing to create more organic details – fraying of the edges, for example. If you indicate the necessary level of consistency for each element of your design at the order stage, we will use appropriate methods of processing.
Why we don't sandblast
A method we deliberately don't useThere was a time when sandblasting, which involved blowing pressurized sand at the fabric to quickly break it down, was the method of choice for rapid distressing. However, besides being fairly quick, this process is known to cause silicosis, a fatal disease that affects the lungs due to inhalation of silica dust, and the workers employed in such an environment were often affected. All Western brands abandoned the process long ago, while OSHA continues to monitor crystalline silica exposure as a significant occupational health issue.
We do not conduct sandblasting on our floor. Manual sanding, grinding, and laser distressing enable us to achieve the same variety of results without having someone operate the pressurized silica stream. This trade-off is quite easy to make and is a valid question for potential customers.
It should also be noted that abandonment of sandblasting does not result in an inability to reproduce any specific look. All features that people tend to associate with sandblasted denim – intense fading across a large area, worn-out knees, abraded surface – are within the reach of manual sanding or laser treatment.
Durability: Intentional Distress vs. Failure
Where distressing sits matters as much as how muchThe difference between a distressed item that survives and one that fails on first wash lies in placement and reinforcement, not the intensity of the distress. The creation of distress in a low-stress area such as the outer thigh or front knee is quite safe; these are areas that bear minimal load while wearing. Creating a distressed look in a high-stress area such as the crotch seam, back rise, and structural seam would be a disaster.
In case of open tears or splits, we need to reinforce the edges to ensure that the tear does not continue to expand on further use and washing; this would be done either by placing a bar tack on either end of the cut or sewing the hole from the other side using a mesh or twill backing. In the case of a placement that seems risky, we flag it for a structural issue before doing the distressing and getting surprised later.
On average, it is safe to leave all distresses that are smaller than 2 – 3 cm unreinforced on mid-weight denim, as long as they do not sit exactly on top of the structural seam. However, for all distresses that are above the mentioned dimension and distresses located in the crotch, back rise, or load-bearing seam areas, we always recommend reinforcement. This can be declined by the buyer, but we prefer to make him/her aware of the possible risk before production.
Reference Matching and Batching
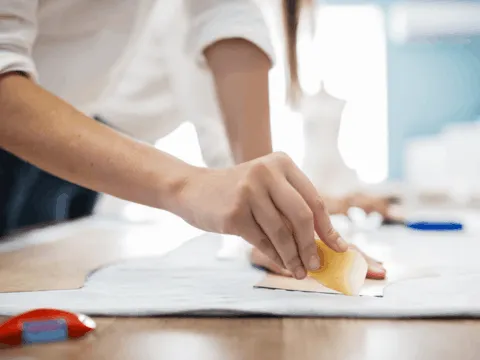
Consistent across every unit, not just the sampleIf you have manual decoration, we make the stencil based on a buyer's reference sample or tech pack sketch, and then sand according to the stencil throughout the entire production run; that is how we ensure proper placement across all sizes, as opposed to having placement vary piece by piece. If you have laser decoration, your reference is made into the laser file one time, and each piece after that goes through the same design pattern.
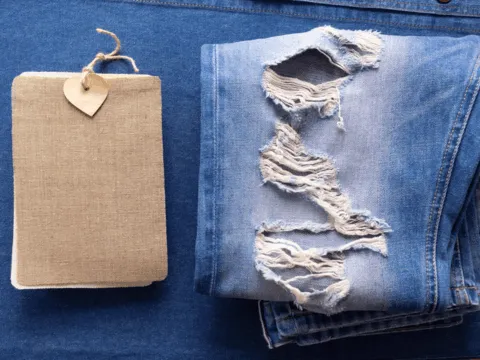
Before the batch progresses to the next phase, each item is inspected according to the authorized reference for placement, size of the hole, and length of the fray, and then goes through our regular AQL 2.5/4.0 inspection along with the other order items. Garments with incorrect distressing location do not ship with an indication; instead, they are returned for corrections or replacement.
The length of the fray and the edges of the holes are measured relative to a tolerance range, and not to a particular number, since hand distressing orders will inevitably have some variation from item to item – the objective of hand distressing is to achieve consistency within a realistic range, and not exact replication, which would be a laser job.
Order it on a garment
Ready to spec a runThis page covers how the distressing is made. If you already know which garment you want it on, the distressed jeans and vintage wash hoodies pages cover sizing, MOQ and ordering specifics for each.
Frequently asked questions
Distressing, straight answersWhat tools do you use to distress a garment?
Do you use sandblasting to distress denim?
Will an intentional rip get bigger with normal wear?
Can you match a specific distressing pattern I send as a reference?
Does heavy distressing weaken the garment?
How is distressing checked for quality before shipping?
Have a distressing pattern in mind?
Send the reference. We'll build the stencil.
Ship a physical garment or a marked-up tech pack sketch and we'll come back with a feasibility check and cost estimate within 2 business days.
Reply within 24h · GMT+8 · English OK · NDAs signed on request